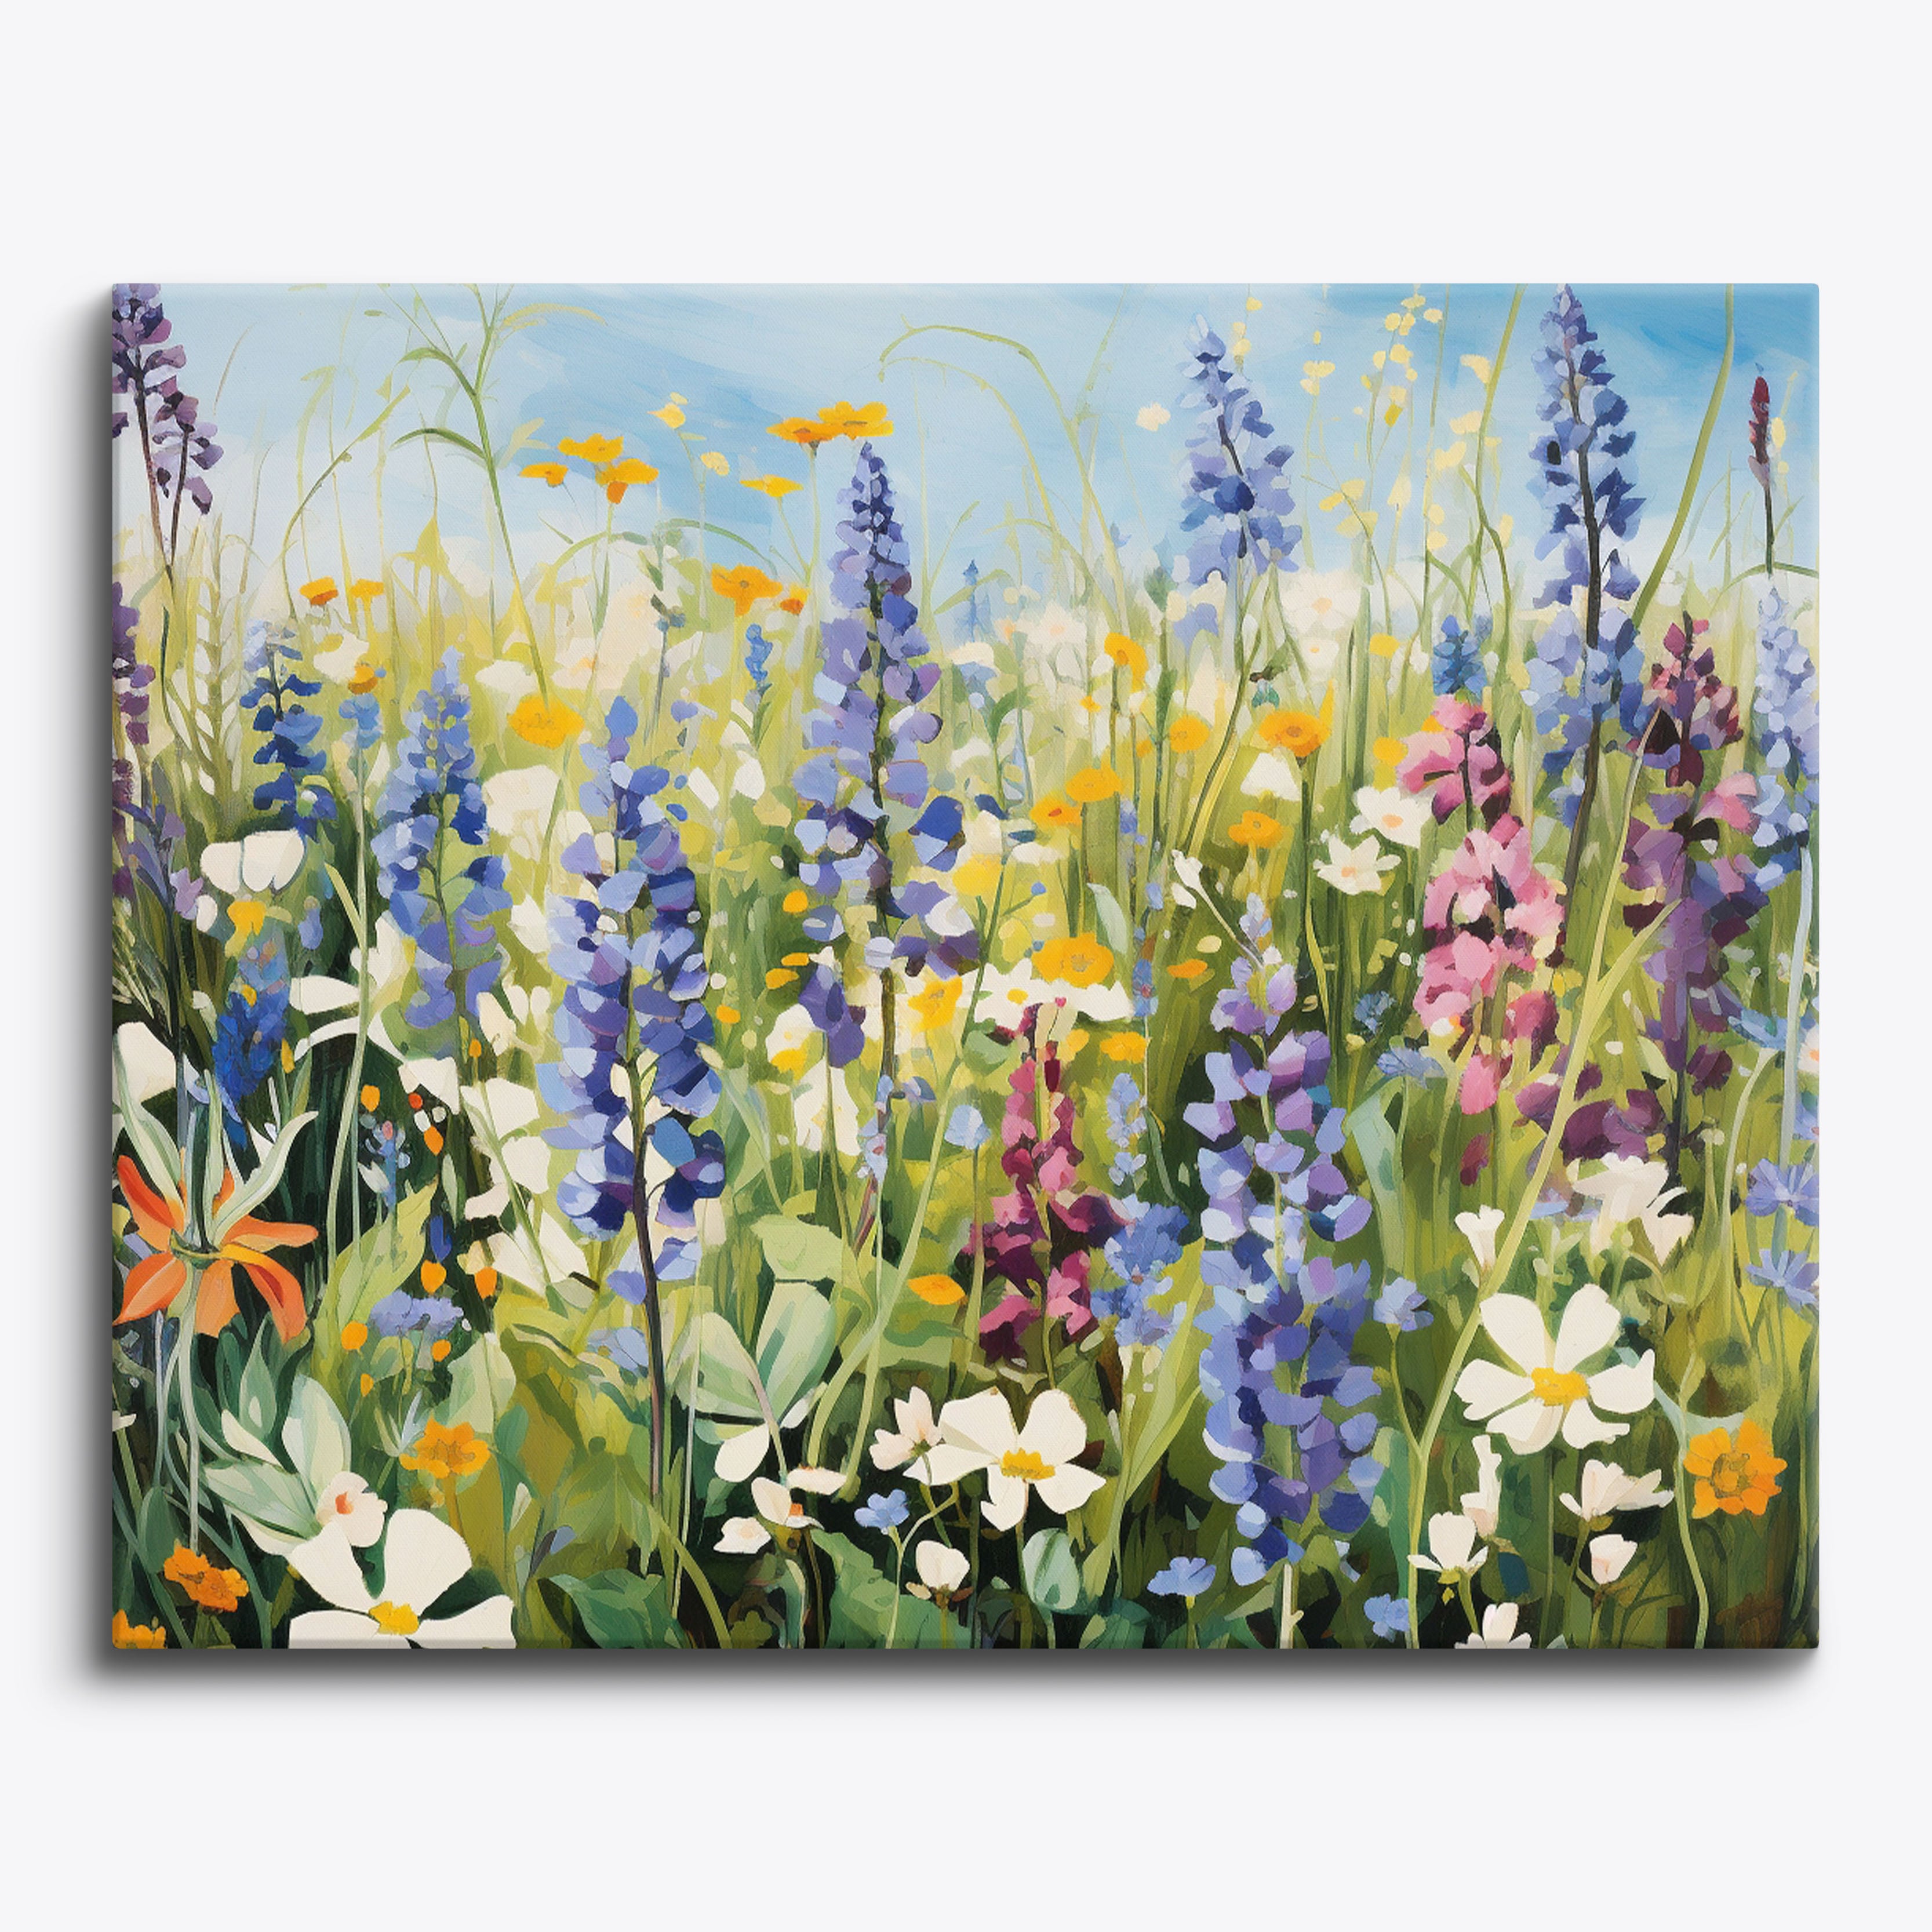
Do you have a favorite photograph that you would love to see transformed into a beautiful piece of art on canvas? Painting a photograph can be a rewarding and creative process that allows you to bring your memories to life in a unique way. Whether you are an experienced artist or a beginner looking to try something new, this guide will provide you with the steps and tips you need to successfully paint your photograph with ease.
Choosing the Right Photograph
Before you begin painting your photograph, it's important to choose the right image to work from. Here are some tips for selecting the perfect photograph:
Factors to consider when choosing a photograph:
- Look for a high-quality image with clear details and good lighting.
- Choose a photograph that has meaning to you or evokes strong emotions.
- Consider the composition and subject matter of the photograph to ensure it will translate well into a painting.
Gathering Your Supplies
Once you have selected your photograph, it's time to gather the necessary supplies to begin painting. Here is a list of the basic materials you will need:
Essential painting supplies:
- Canvas or canvas board
- Acrylic or oil paints
- Paintbrushes in various sizes
- Palette for mixing colors
- Easel (optional but recommended for comfortable painting)
Preparing Your Workspace
Before you start painting, it's important to set up a clean and organized workspace. Here are some tips for preparing your painting area:
Tips for setting up your workspace:
- Choose a well-lit area with good ventilation.
- Cover your work surface with a drop cloth or old newspaper to protect it from paint spills.
- Organize your supplies within easy reach to avoid interruptions while painting.
Transferring the Photograph to Canvas
Now that you have everything ready, it's time to transfer your photograph onto the canvas. Here are a few methods you can use to achieve this:
Methods for transferring the photograph:
- Grid method: Divide both the photograph and canvas into a grid and replicate the image square by square.
- Tracing: Use tracing paper to trace the outline of the photograph onto the canvas.
- Projector: Use a projector to display the photograph onto the canvas and trace the outlines.
Painting Your Photograph
With your image transferred onto the canvas, it's time to start painting. Here are some tips to help you bring your photograph to life:
Tips for painting your photograph:
- Start with the background and gradually work your way to the foreground.
- Use a variety of brushstrokes to capture different textures and details in the photograph.
- Take breaks as needed to avoid fatigue and maintain focus on your painting.
Adding Details and Finishing Touches
Once you have completed the main elements of your painting, it's time to add details and finishing touches to enhance the overall look of the artwork. Here are some ideas for adding extra flair to your painting:
Ideas for adding details and finishing touches:
- Enhance the colors and contrast to make the painting more vibrant.
- Add highlights and shadows to create depth and dimension in the artwork.
- Sign your painting with your name or initials to personalize it and give it a professional touch.
Final Thoughts
Painting your photograph can be a fun and fulfilling way to express your creativity and preserve special memories. By following the steps outlined in this guide and experimenting with different techniques, you can create a beautiful piece of art that you will be proud to display in your home. Remember to enjoy the process and don't be afraid to make mistakes – painting is all about exploring your artistic vision and having fun along the way.

